
THE PROCESS (IN BRIEF)
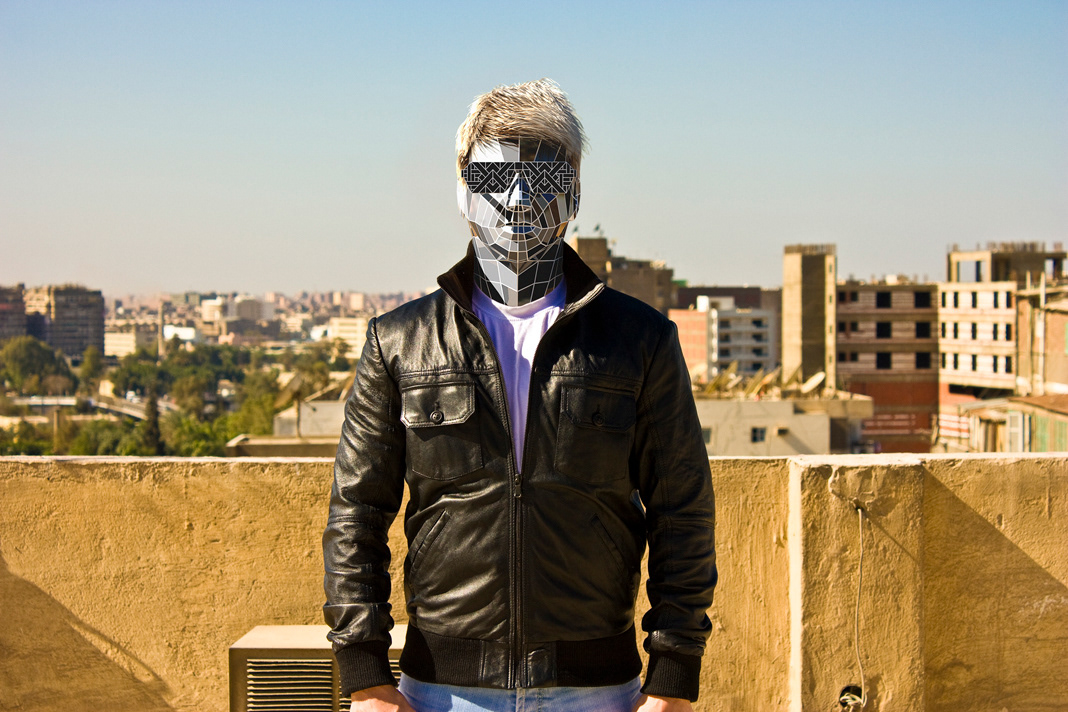
The original photo taken with my Canon 450D and used as the base to create the video

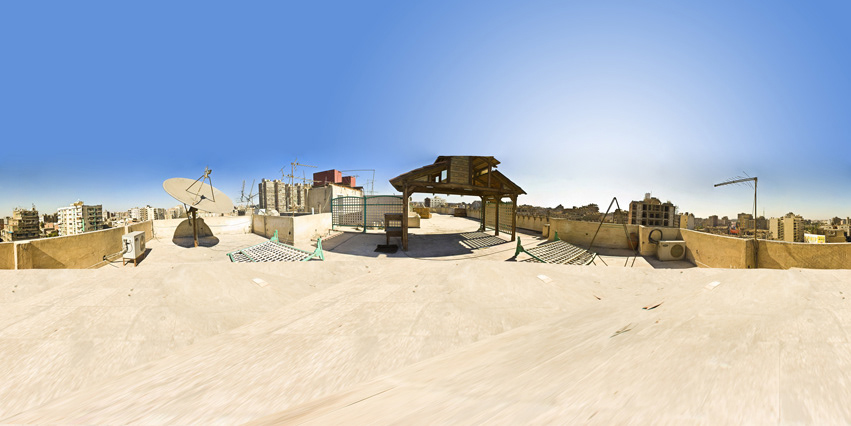
Took several photos to create a 360 degree environment using Autodesk Stitcher Unlimited. This will then be used during the 3D process to help create a more photorealistic head in terms of lighting and of what is being reflected in the mirrors.
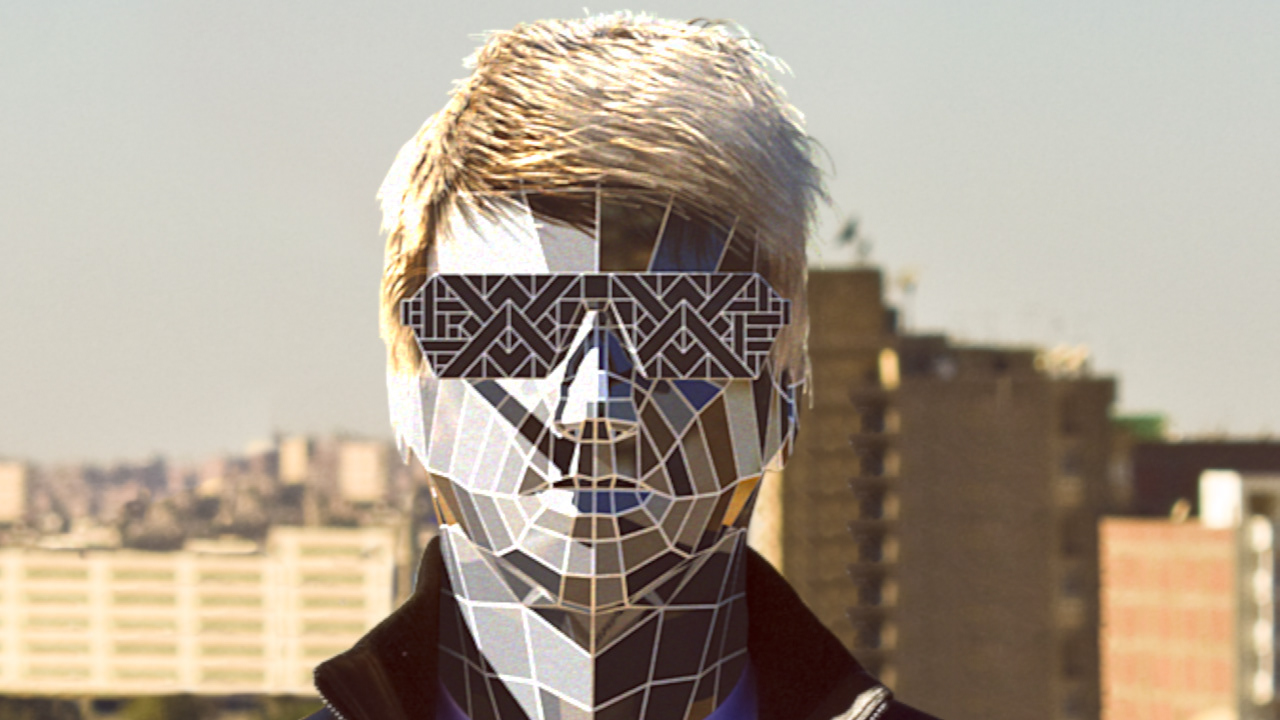
Head Model with Hair and Materials while experimenting with lighting and renders

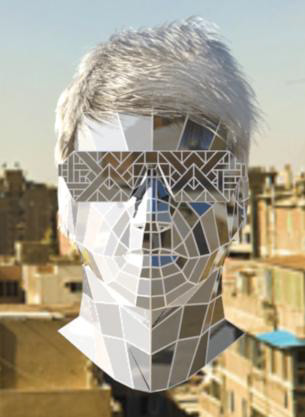
An early test render composited on the photo to see how things look
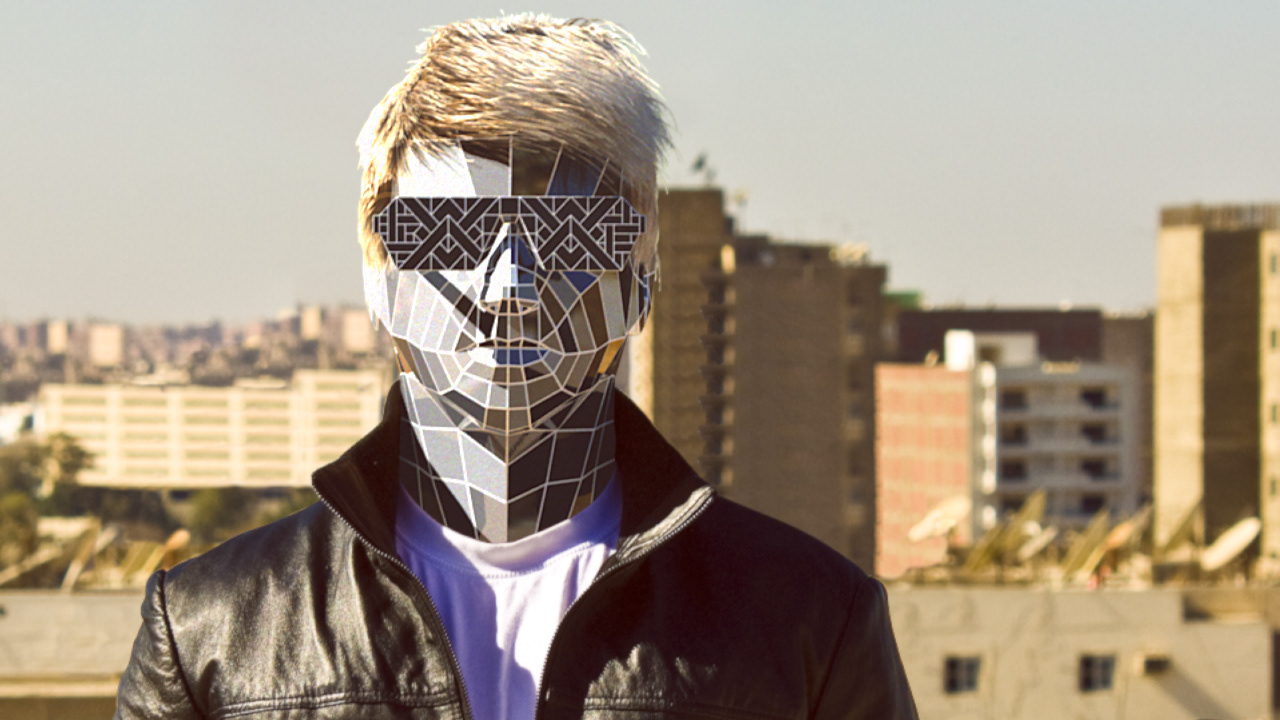
What happened after that was the final rendered animation of the head made with several passes. Put through Nuke to composite and animate everything.
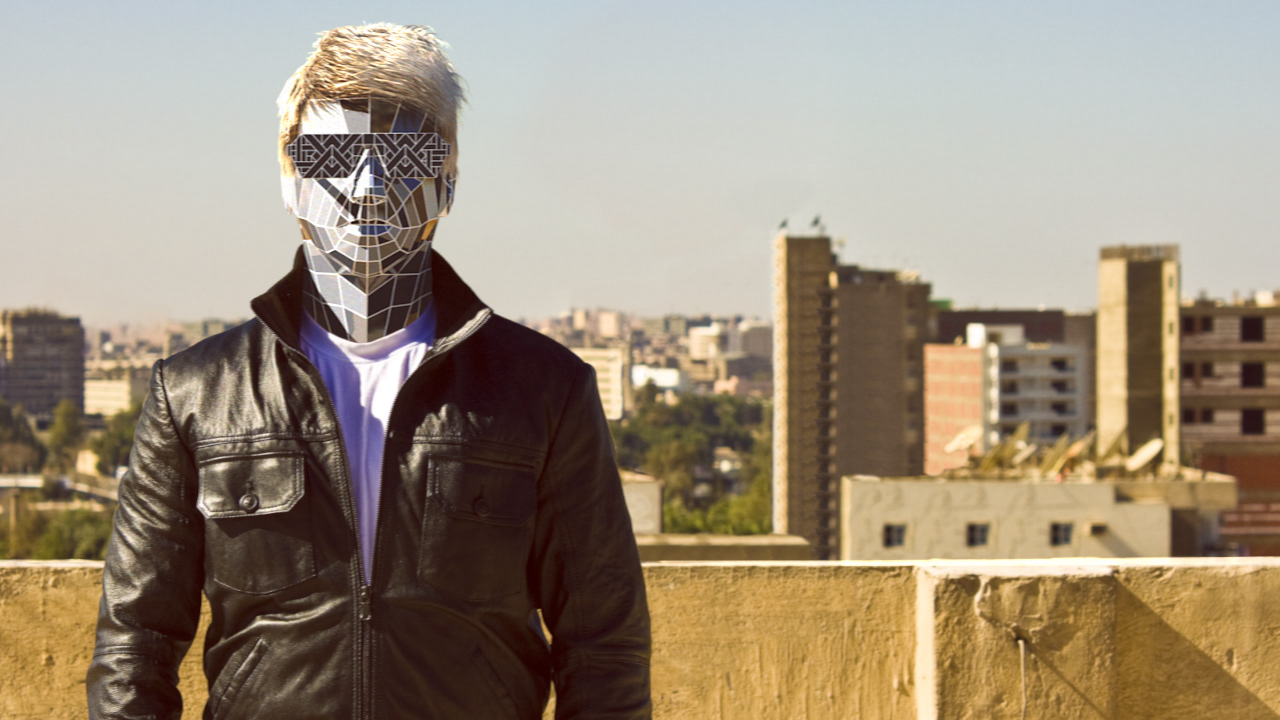
I discovered the background had to have some perspective. Unfortunately I did not take a photo of just the background by itself. I had to cut out the image into three parts (foreground, background and a middle area in between) and using the clone tool, fill in the gaps made in the images so I could move the camera around the scene a bit more freely.
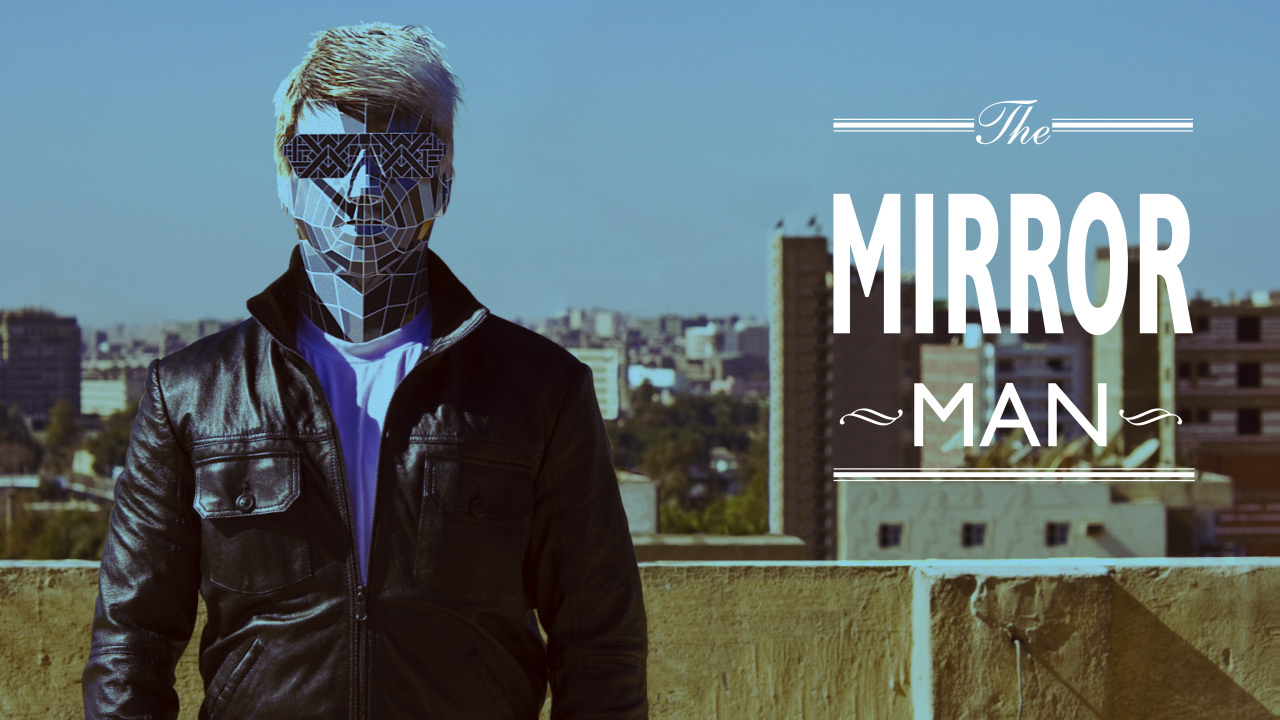
I really wanted to keep this project in Nuke, but I could not add any audio tracks to the video. I had to take it to After Effects, add the audio there and do some final touches.